Portable Linux
Procedure for Installing (Full) Linux on a USB
1. Choosing the Distribution
First you need to choose a Linux distribution. There are so many out there but since I was new to it I selected one of the most popular ones: Ubuntu. I picked the Lubuntu flavor (LXDE Ubuntu) which is more suitable for smaller disks and older hardware, according to the description.
You can download Lubuntu from here.
2. Preparing a Live CD
Next, save this disk image on a CD, and if you want to try this operating system, boot from it. That’s called a live CD. You can work with it but you can’t save files.
3. Preparing a USB
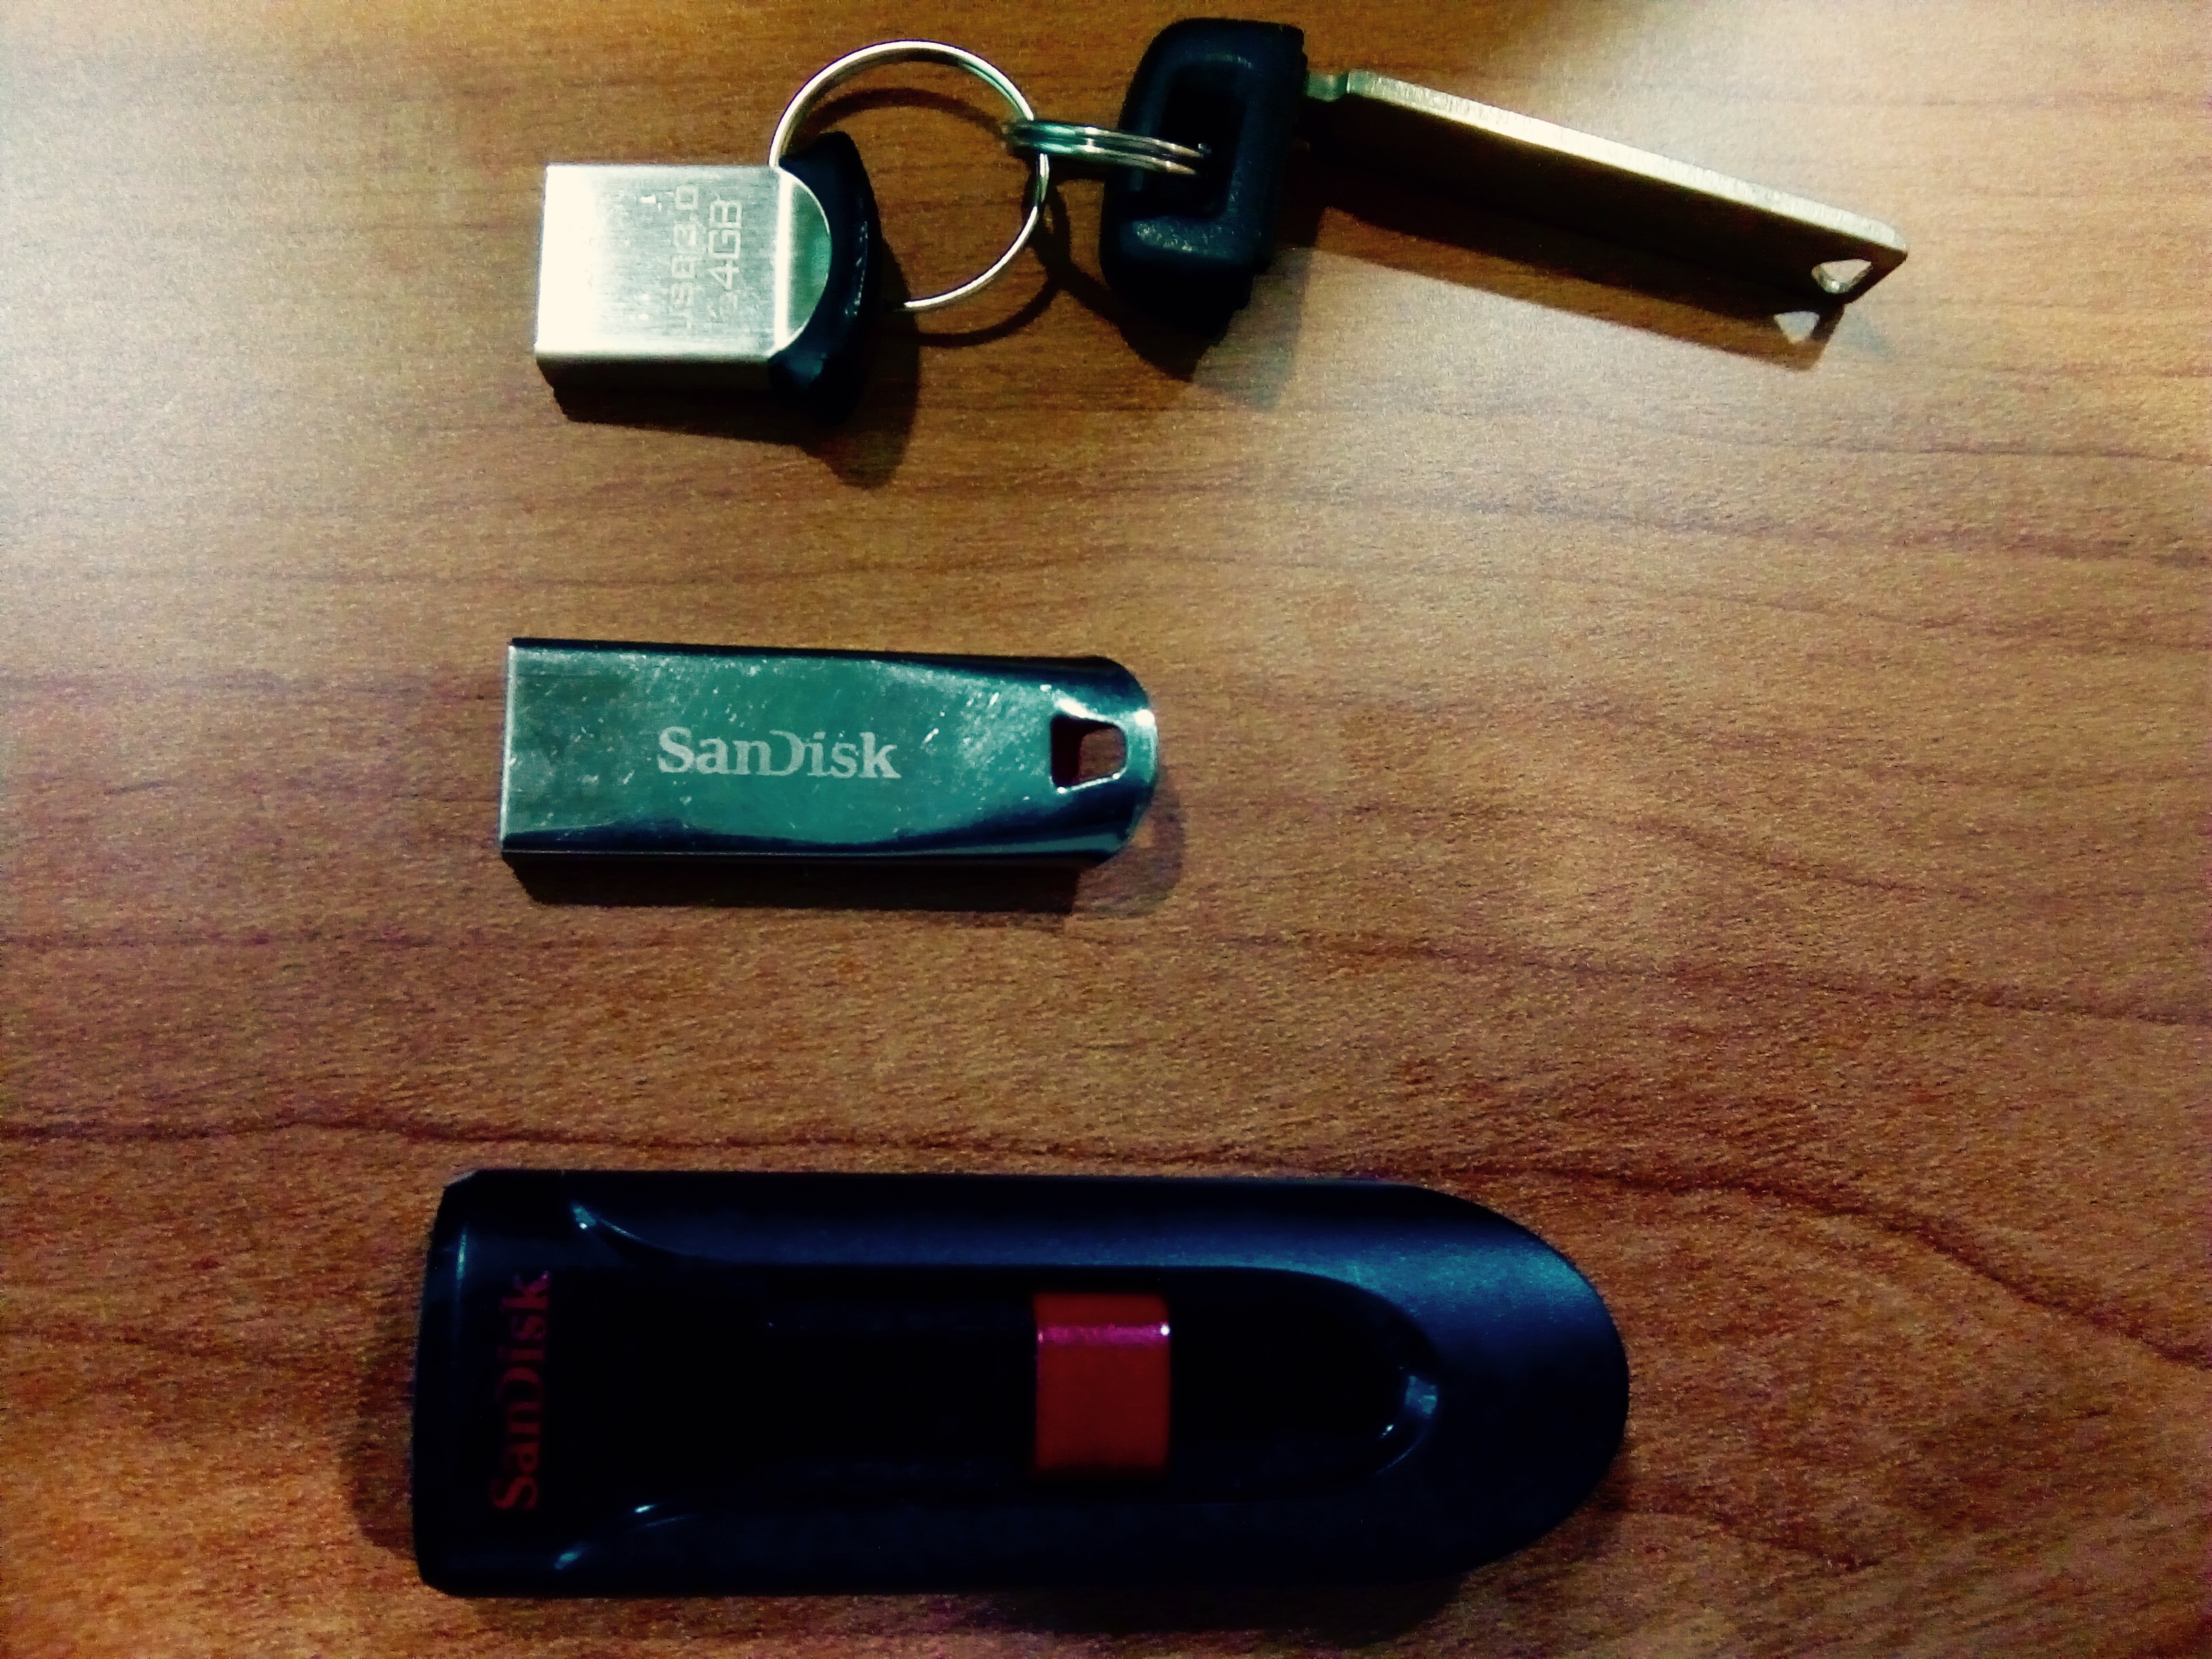 Three models of SanDisk USBs: The smaller the better.
Then, I needed a drive to put Ubuntu (or Lubuntu) on. It should be no less than 32 GB and the USB shouldn’t stick out too much. Any sudden disconnection will render it useless. I learned this from bitter experience and this is why I emphasize on backup. I am currently using a 64 GB San Cruzer Force Ultra Fit. Partitioned as 32 GB for the OS, and 30 GB for data. It should be the other way around, because I won’t be able to restore the OS on any disk smaller than 32 GB (so we are looking at 64 GB and above). So in general, if you are going for this configuration (OS partition + Data partition) try to have the OS as small as possible. Note: I use this configuration because I need the space to put files to use on other Windows computers and a Mac computer that I can’t boot this USB on, yet..
Here is how to partition a disk: On the Lubuntu live CD, press Ctrl+Esc and select Preferences > Disks and add a partition. Allow for some space when creating the partition (like 2 GB if you are creating a partition on 32 GB disk, more on this below1). After adding the partition you need to format it as ext4 (Linux). Both are fairly simple from the GUI.
Installation Instructions
Now that your partition is ready, here is how to make a full installation on the USB, or check it out on YouTube.
Since the above link is gone (the instructions are still on YouTube), I am goig to type the process out.
- Open disk utility and make note of the device /dev/sdc1 for example.
- Unmount the volume.
- Disconnect the internet.
- Run the installer.
- I don’t want to connect to wifi right now.
- For ‘Installation type’ select ‘something else’.
- Select a partition (e.g. /dev/sdc1) in the device, format it as ‘ext4’, Mounting point ‘/’.
- The main step: Select the device (e.g. /dev/sdc), and, the ‘Device for boot loader installation:’. Change it to the device as well. Select ‘Install Now’.
Next Goal
How to make a USB that is bootable on both Windows and Mac machines.
-
At first, I bought a 32 GB disk and installed the OS on it. Then I bought another one for backup. But it turned out that the identical disks from the same manufacturer were not exactly the same size, and the one I installed the system on was the larger one and therefore back up was not possible. ↩